Jump to the content

Free shipping starting from € 99

Subscribe to the newsletter and receive 10% off

Sea themed nail-art for the summer: tutorial step by step

Last updated on

|

Time to read 3 min

Summer is approaching and your mind is starting to travel to distant seas, tropical islands and seabeds full of colorful corals? Our new collection, Reef, could be for you! Now we tell you how to use it to create lively nail art, to always have the sea at your fingertips.

How to create a sea effect nail reconstruction

It starts with the mechanical preparation of the nails, cutting the cuticles (here you can help yourself with our Cuticle Remover) and the chemical preparation.

Continue with the application of the adherent base: our Step One base It will strengthen your nails and ensure that your reconstruction lasts a long time, without lifting of any kind. A thin layer is enough, almost like enamel; it polymerizes in a lamp.

It's time to spread the sea on your nails with our Blueberry Sorbet Gel , whose color recalls the crystalline waters of tropical paradises. To create an excellent structure, you can help yourself with dual forms or nail forms. Finish everything off by filing the structure into the shape you prefer.

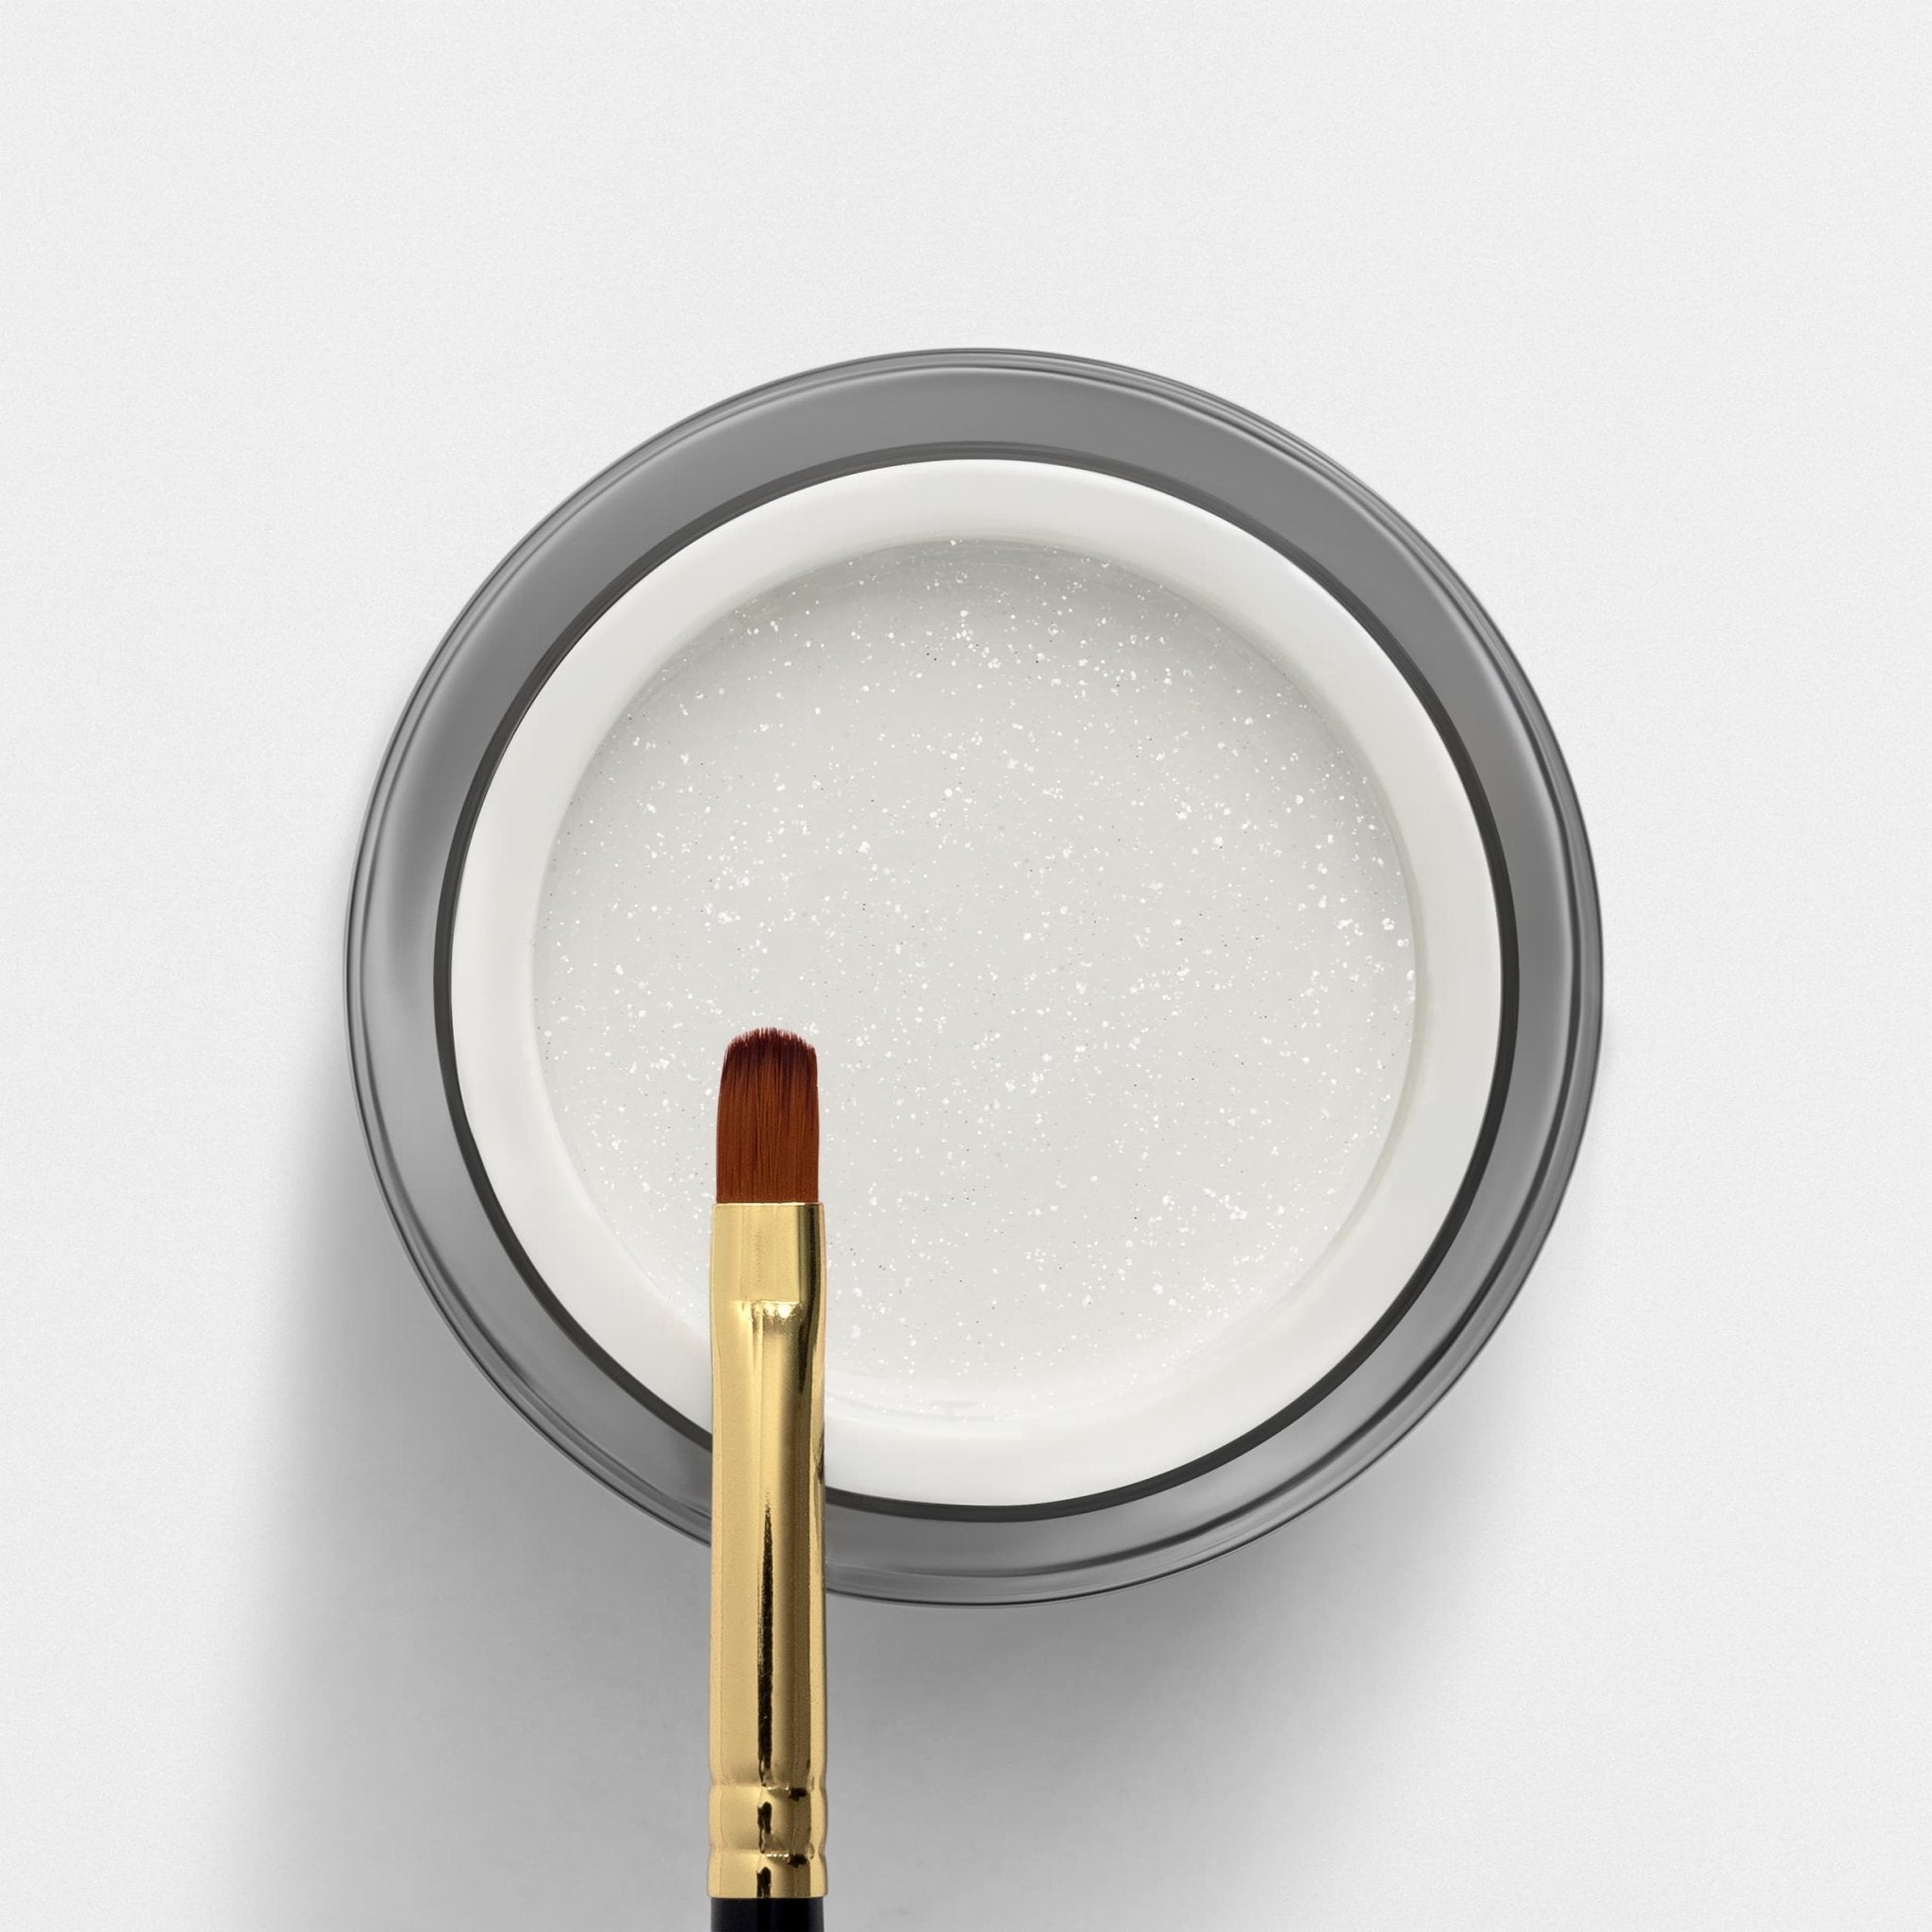
Let's give some dimension to the sea by drawing waves. Apply a base layer of Step One without polymerizing it; wet the tips of a ombré brush In the White Gel Painting, then use it to touch the nail with a light wave motion.

How to do Reef nail art

Armed with a paintbrush, creativity and our new Reef collection!

To make all the drawings we used a brush 09, but you can also use a brush 07.

1. Anemone Coral

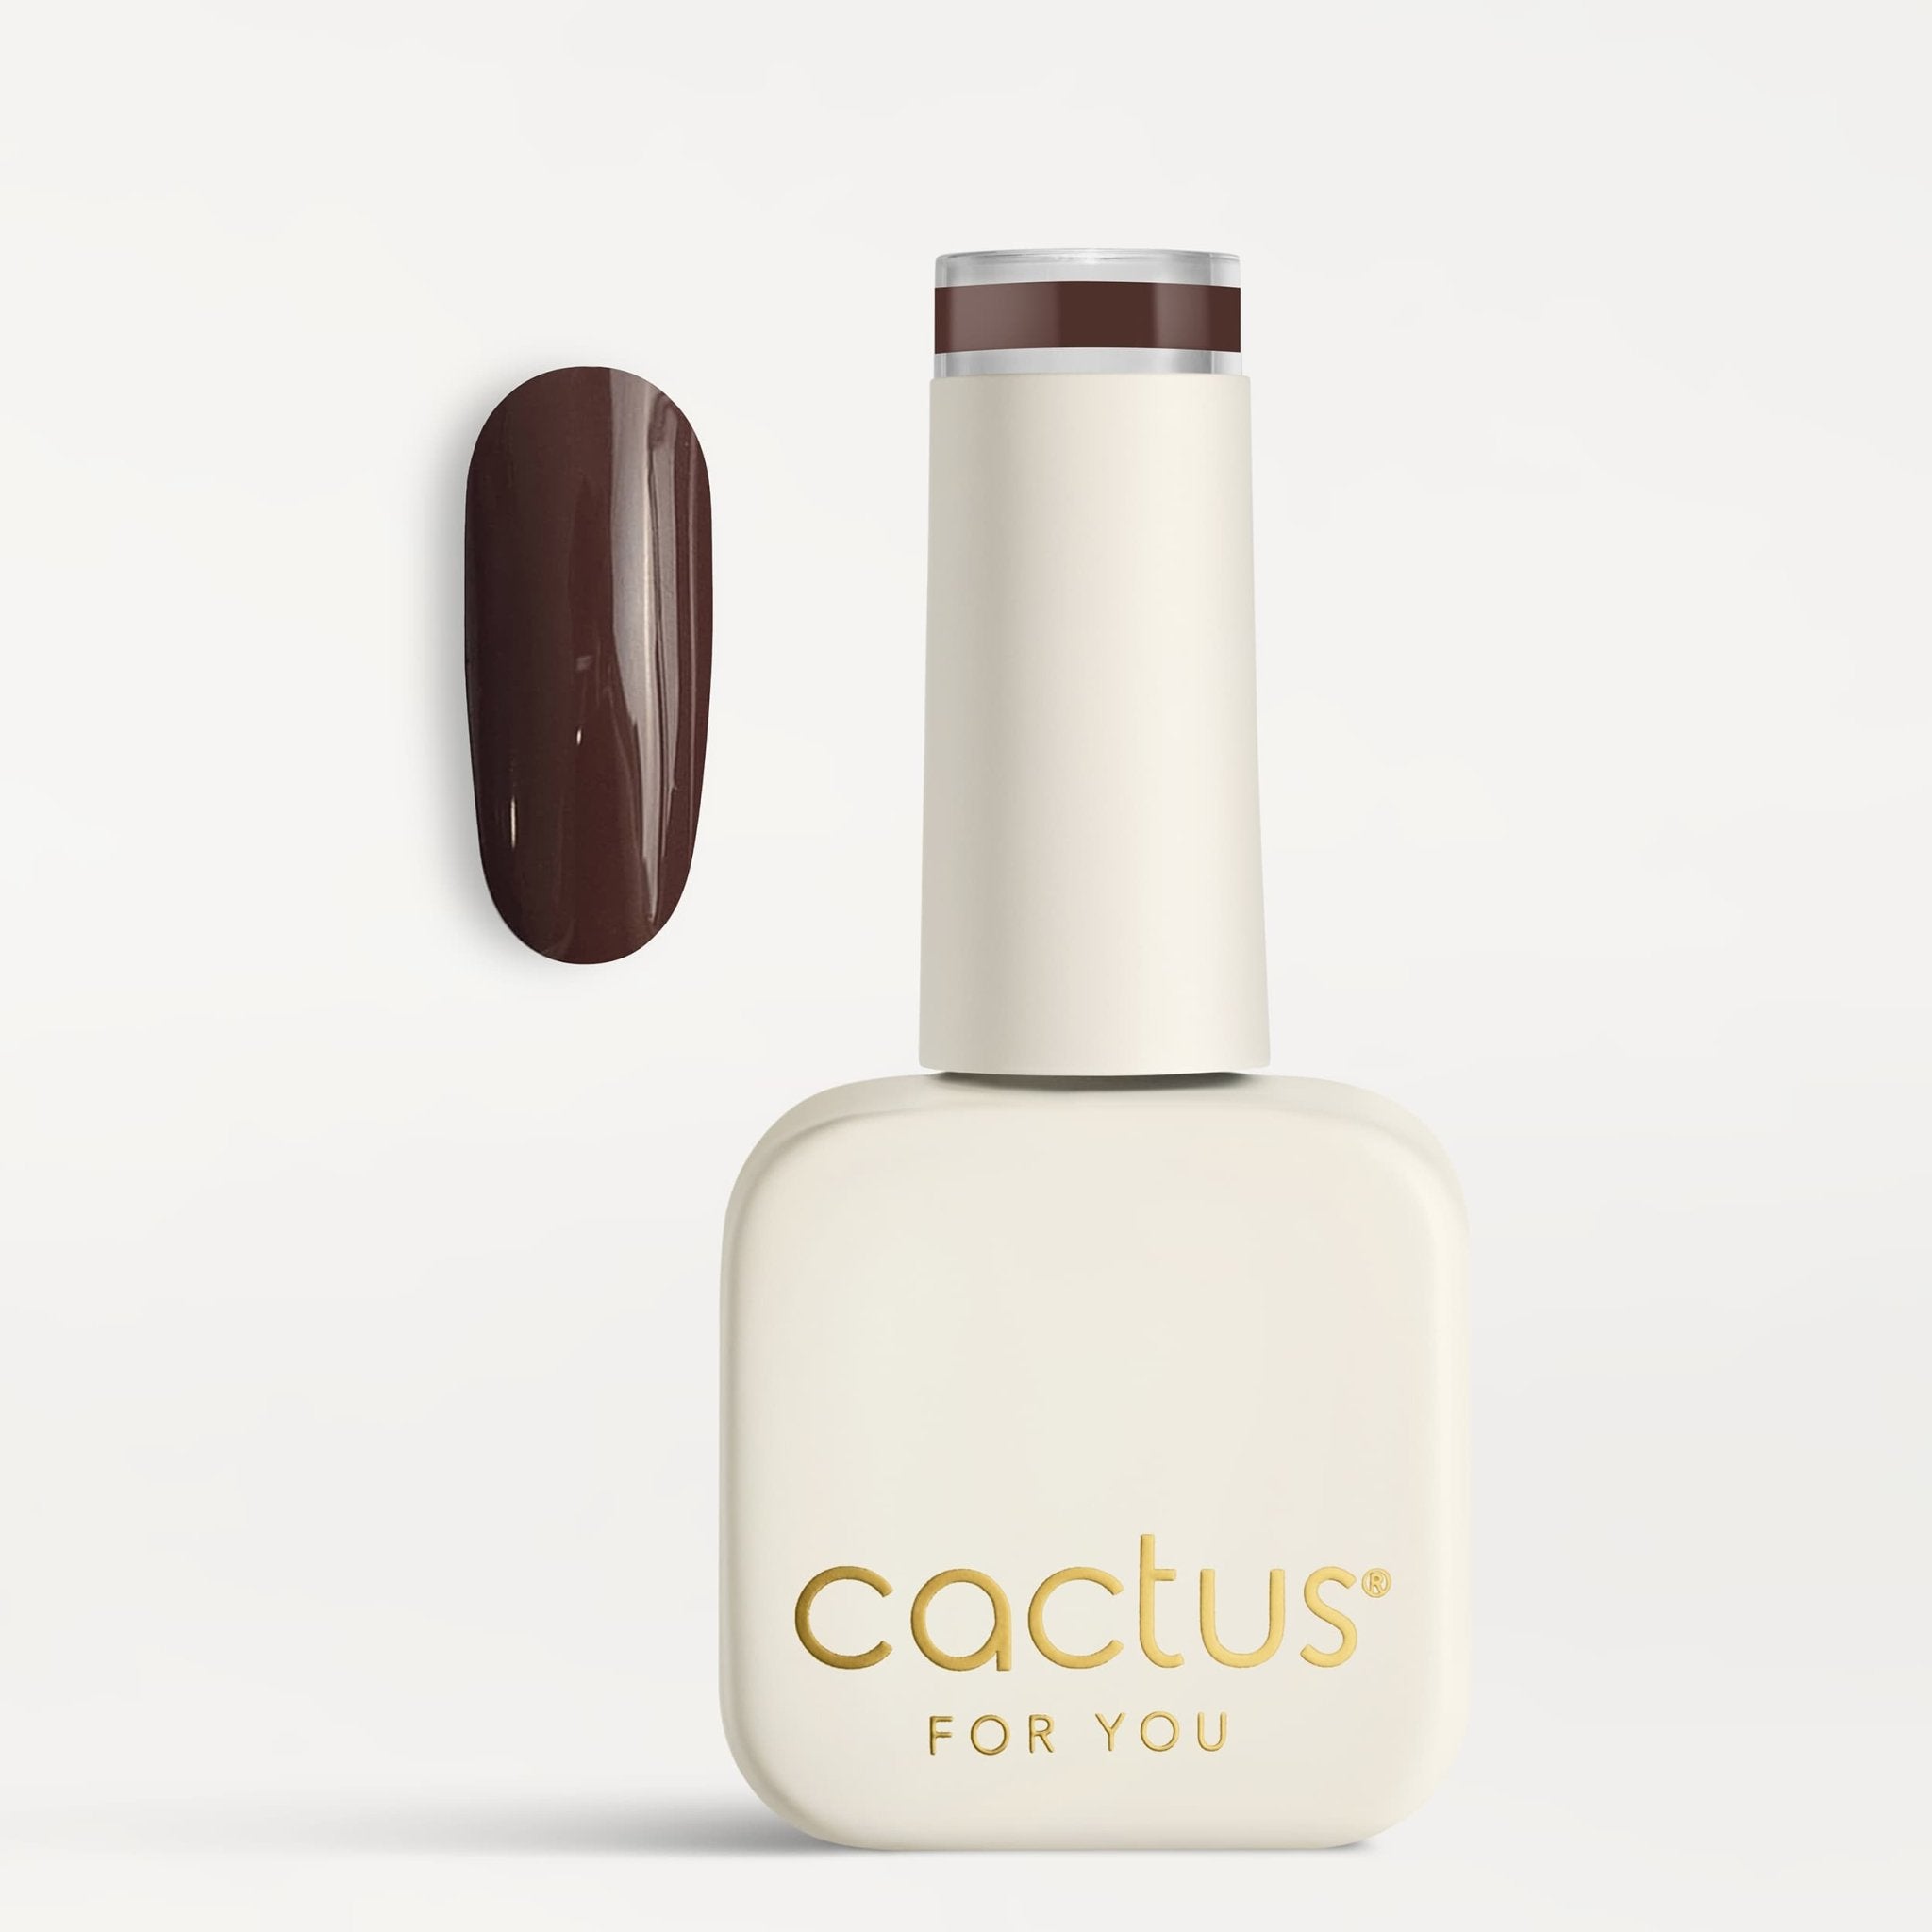
For this nail art you need the color C166 (Anemone) and the Clear acrylic powder .


Draw the coral and, without polymerizing, sprinkle a little acrylic powder on it. Using a dotter or a wooden stick, make small holes along the entire coral.


Polymerize in the lamp for 1 minute, finally remove the excess powder with the help of a brush.

2. Medusa

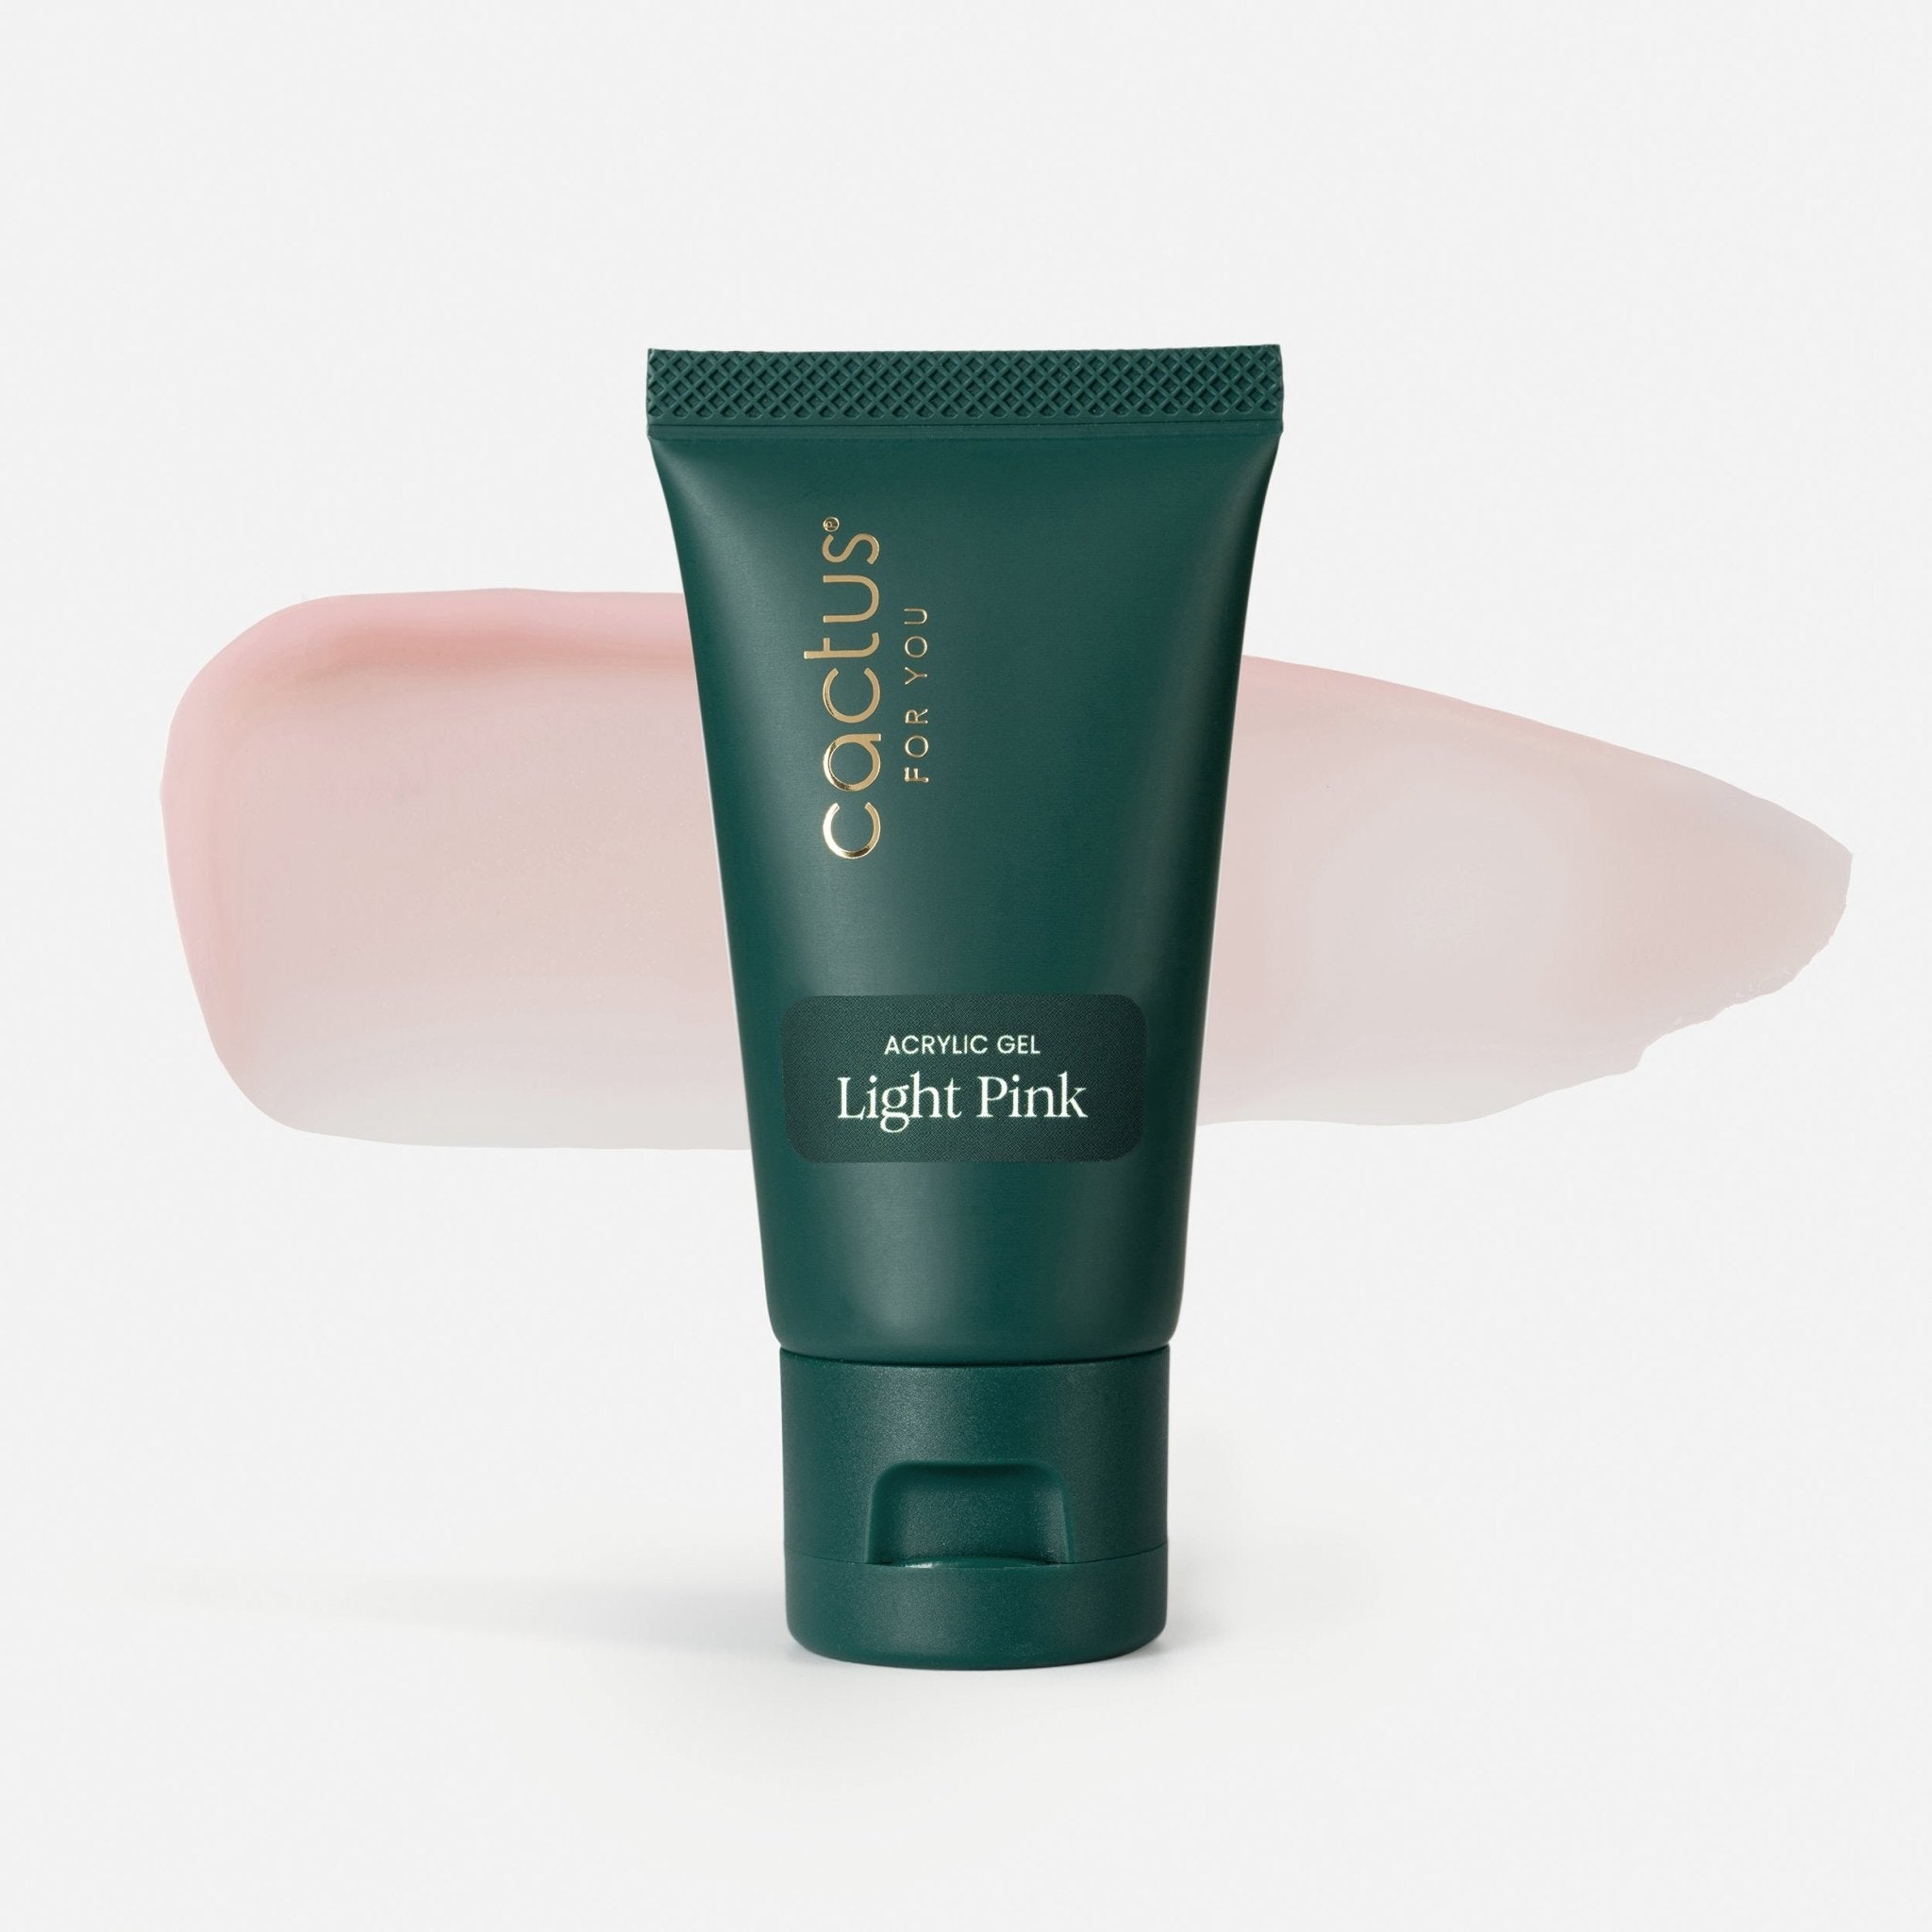
For this nail art you need the color C169 (Medusa), the Sorbet Clear Gel and the Reflex Top Coat.


Start by drawing the tentacles, then mix a bit of color with the Sorbetto Clear gel to obtain a more transparent purple: with this create the head of the jellyfish. To give it a more particular look, apply a layer of gel polish S026 over the head of the jellyfish or any other glitter you think is suitable.


Cure for 1 minute. Seal only the glitter with a layer of top coat, without going beyond the edges of the jellyfish. Cure in the lamp for 1 minute.

3.Stella Marina

For this nail art you need the color C167 (Stella Marina) and theArt Pasta White.


Draw the base of the star with C167. To give it a more three-dimensional look, mix the color with the white Art Pasta: with this thick mixture, go over the center of the base. Cure in the lamp for 1 minute, then add dots on the star with the same mixture as before. Cure again for 1 minute.


Art Pasta is self-sealing: the relief remains stable without the need for a top coat.

4. Conchiglia

For this nail art you need the color C168 (Conchiglia), the color C167 (Stella Marina), Art Pasta White and the Sorbet Clear Gel.


Make a mixture with the Sorbetto Clear gel and C168, which must not be too transparent as for the head of the jellyfish. Use it to create the three-dimensional structure of the shell, modeling it towards the tip. Cure for 1 minute. Trace the lines of the shell with a mixture of C168, C167 and Art Pasta white. Cure again for 1 minute.


Both the Sorbetto gel and the Art Pasta are self-sealing, so they do not require a top coat. The drawn reliefs remain clearly visible and defined.

Thanks to the Reef collection, we have created a nail art perfect for the summer, with bright colors that recall the coral reef and put anyone who looks at it in a good mood. Now all that's left to do is book a trip to discover the most beautiful reefs in the world - as well as your manicure, of course!