

Chrome Powder Metallic Effect ZL07
Metallizzato


Chrome Powder Metallic Effect HL23
Metallizzato


Chrome Powder Metallic Effect HL04A
Metallizzato


Chrome Powder Metallic Effect ZL17
Metallizzato


Chrome Powder Metallic Effect ZL04
Metallizzato


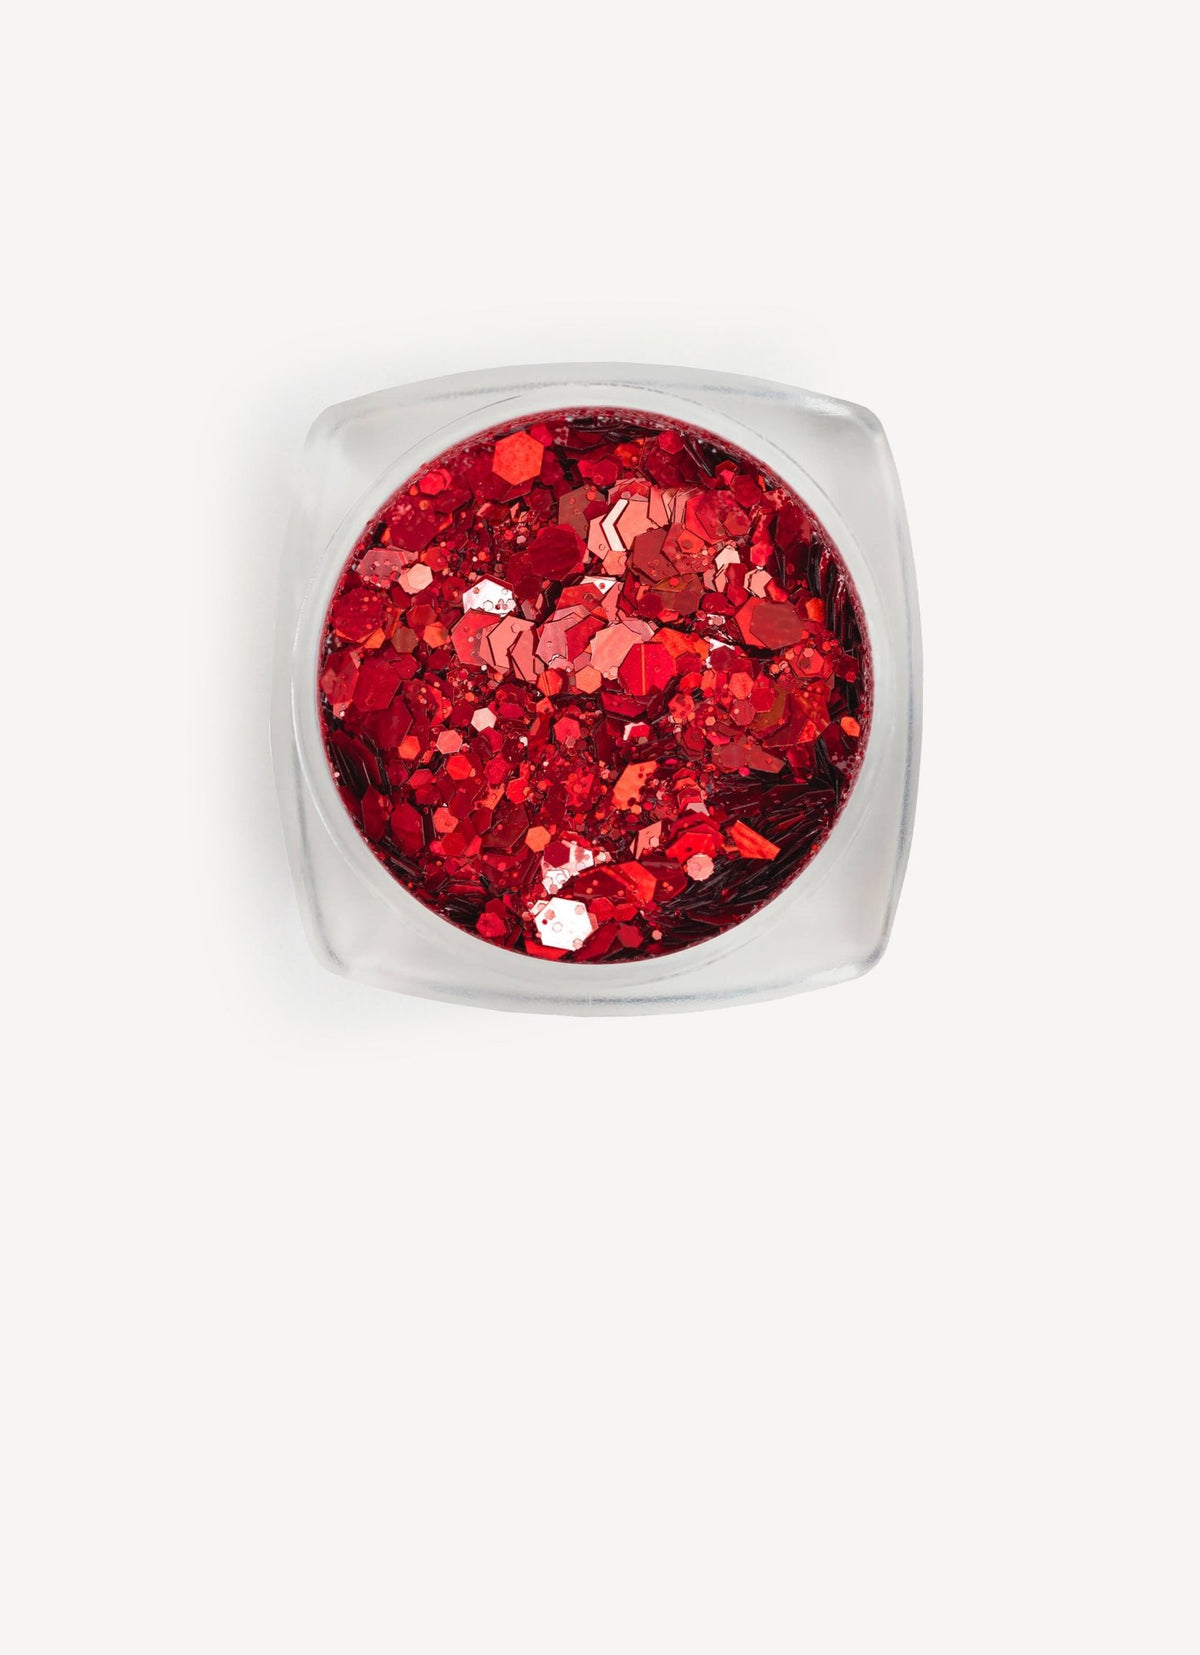
Chrome Powder Metallic Effect HL01
Metallizzato


Dried flowers - 12 pack
Margherite


Dried flowers with leaves - 12 pack
Fiori con foglie


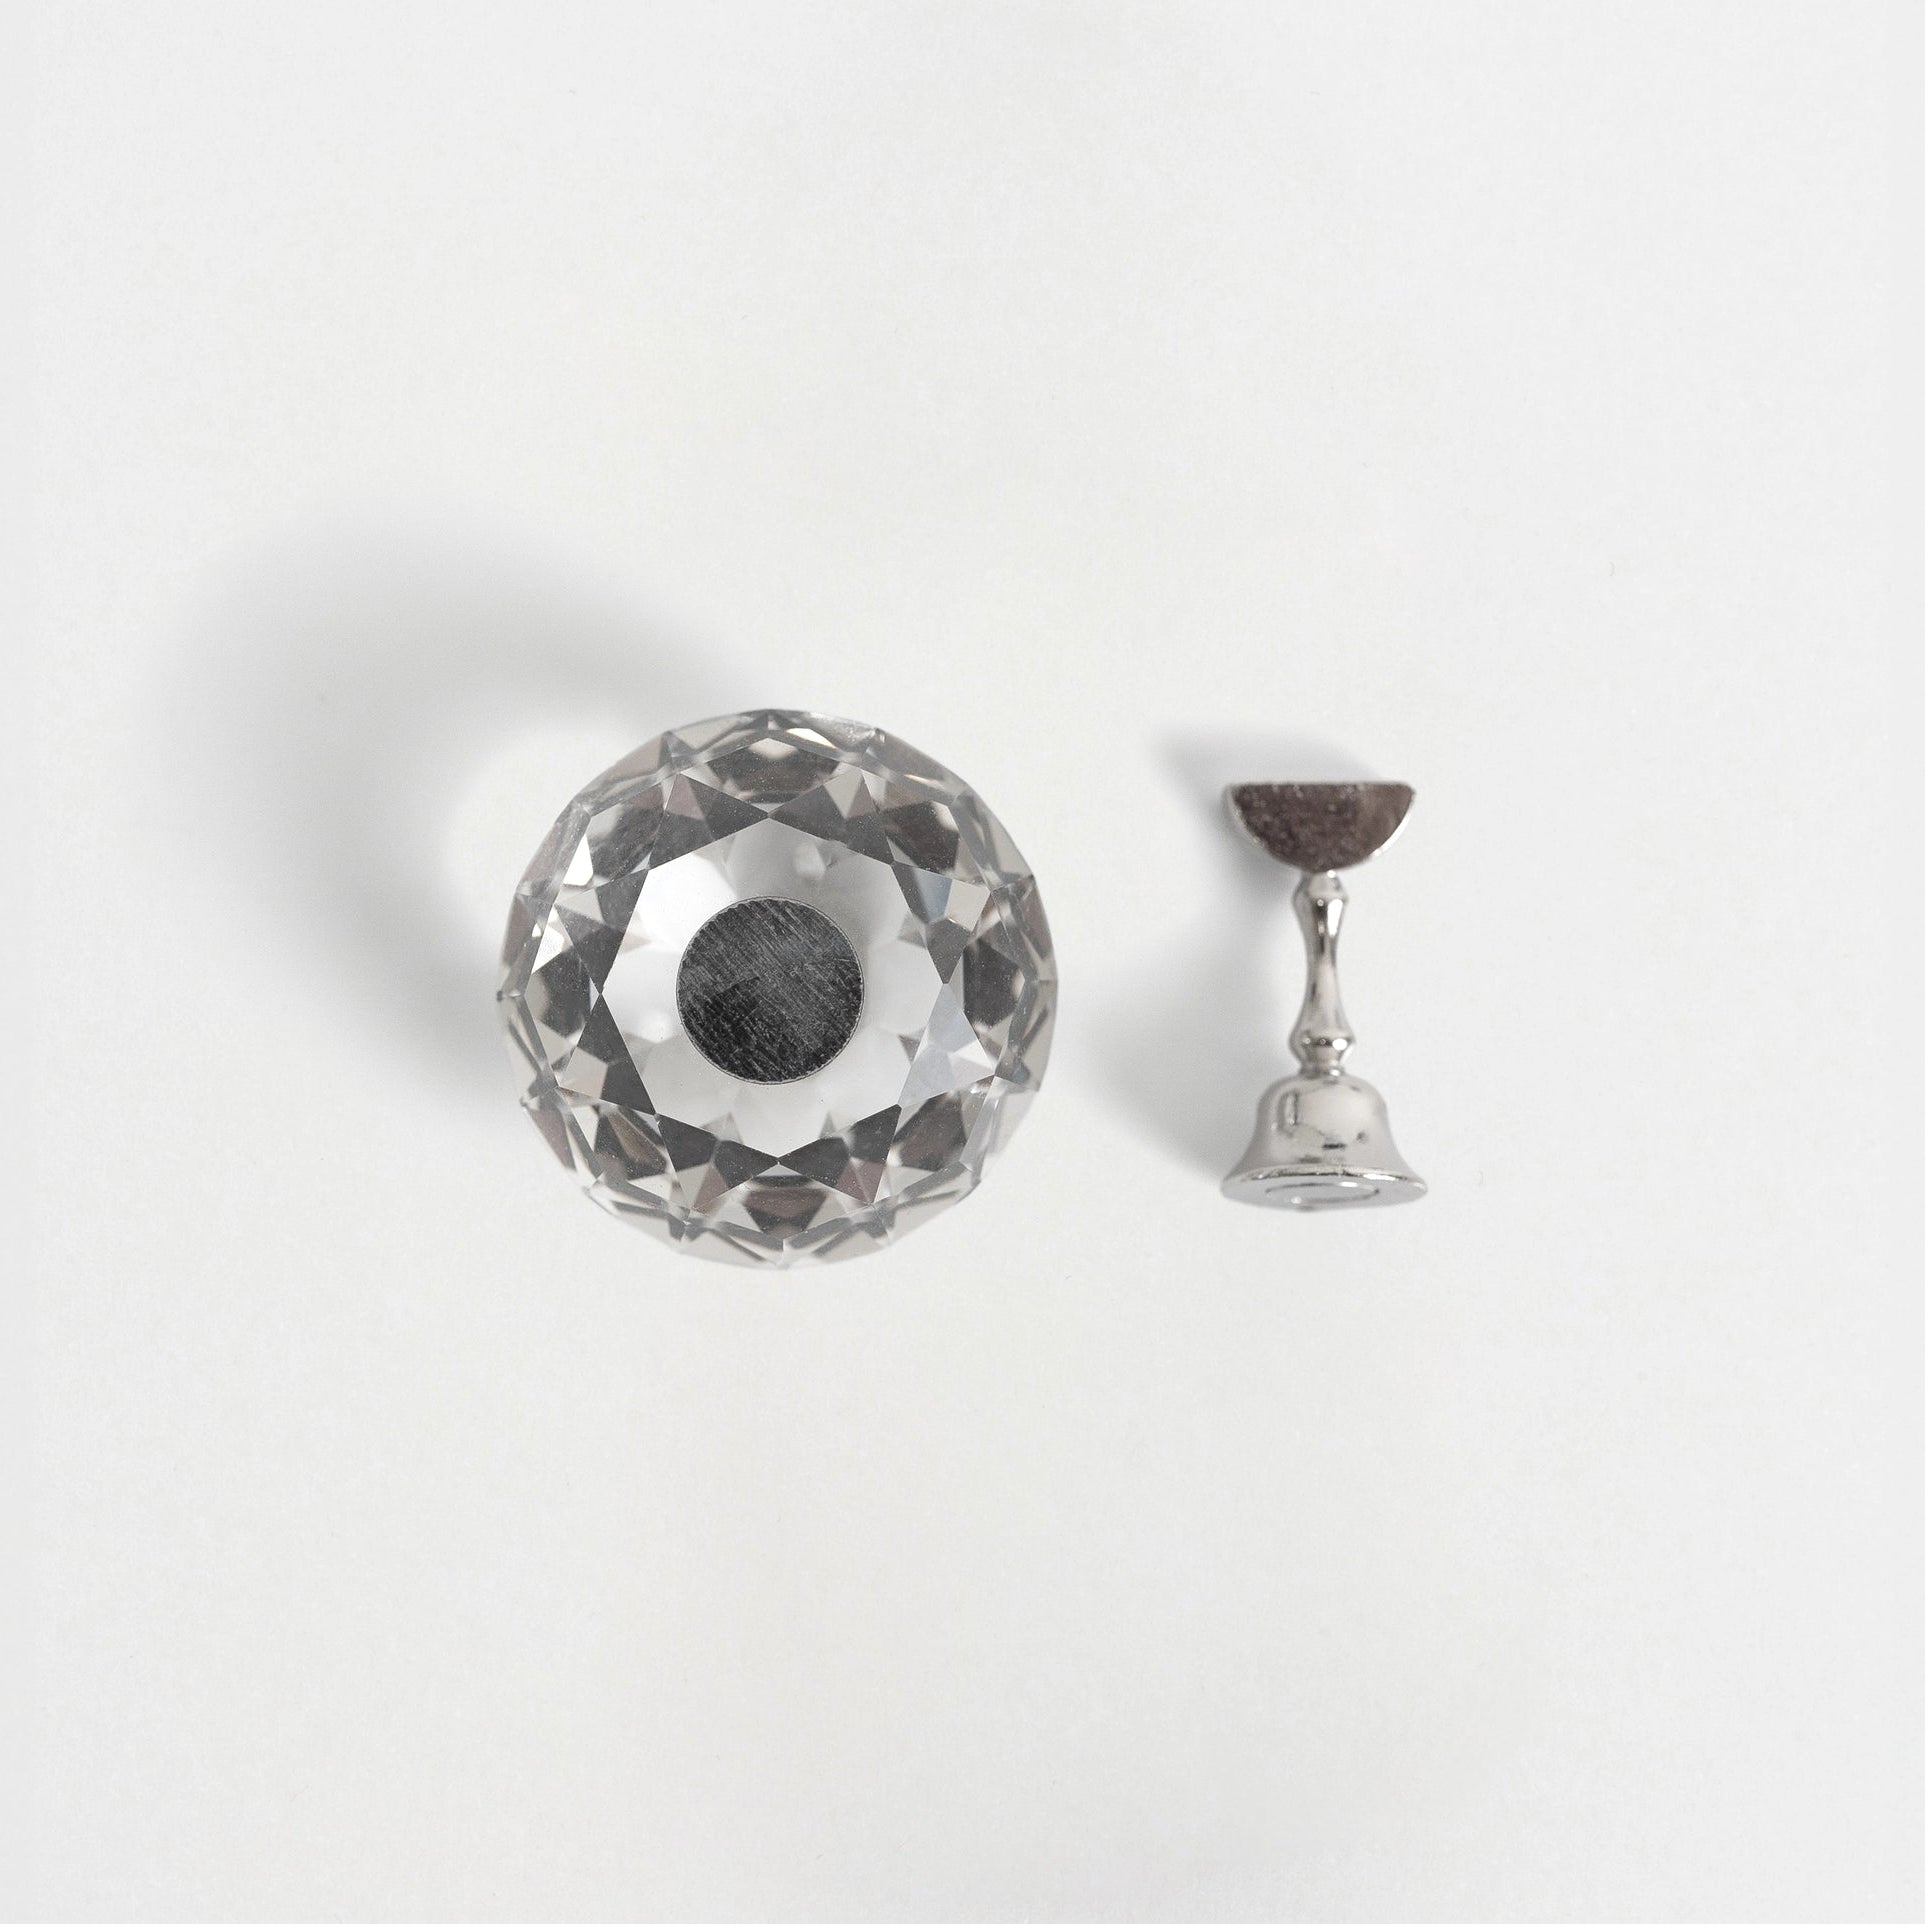



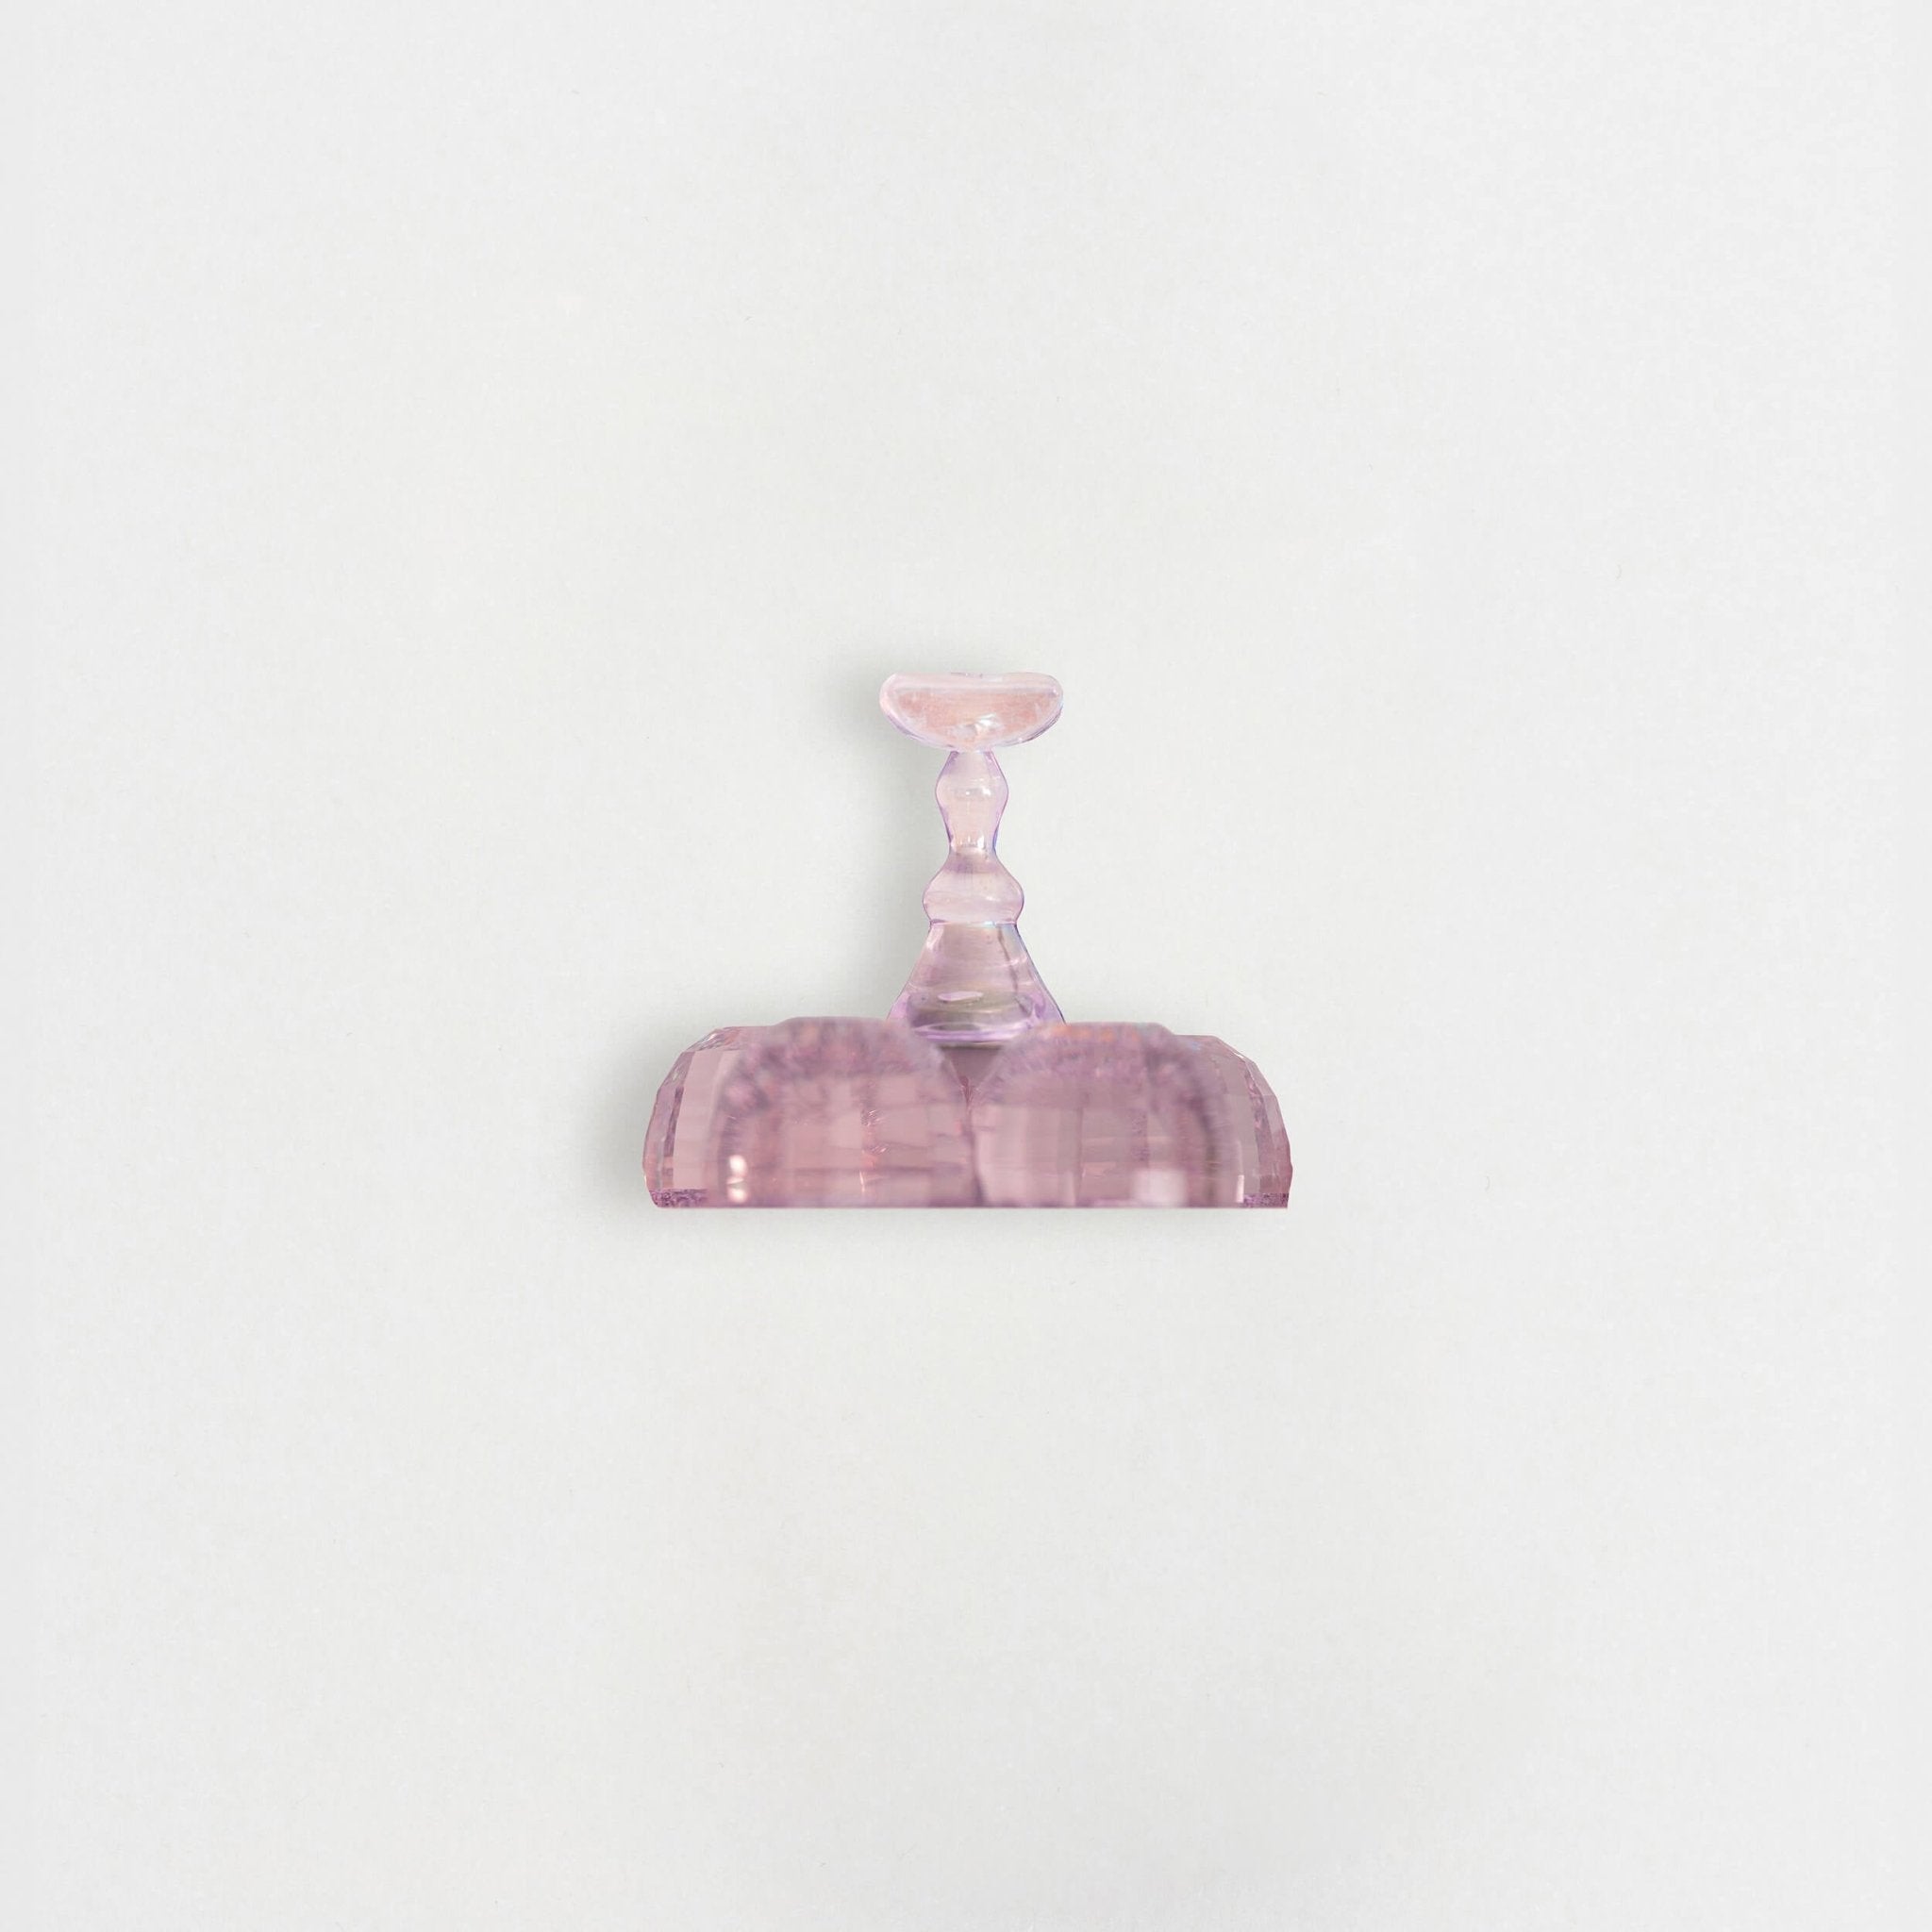

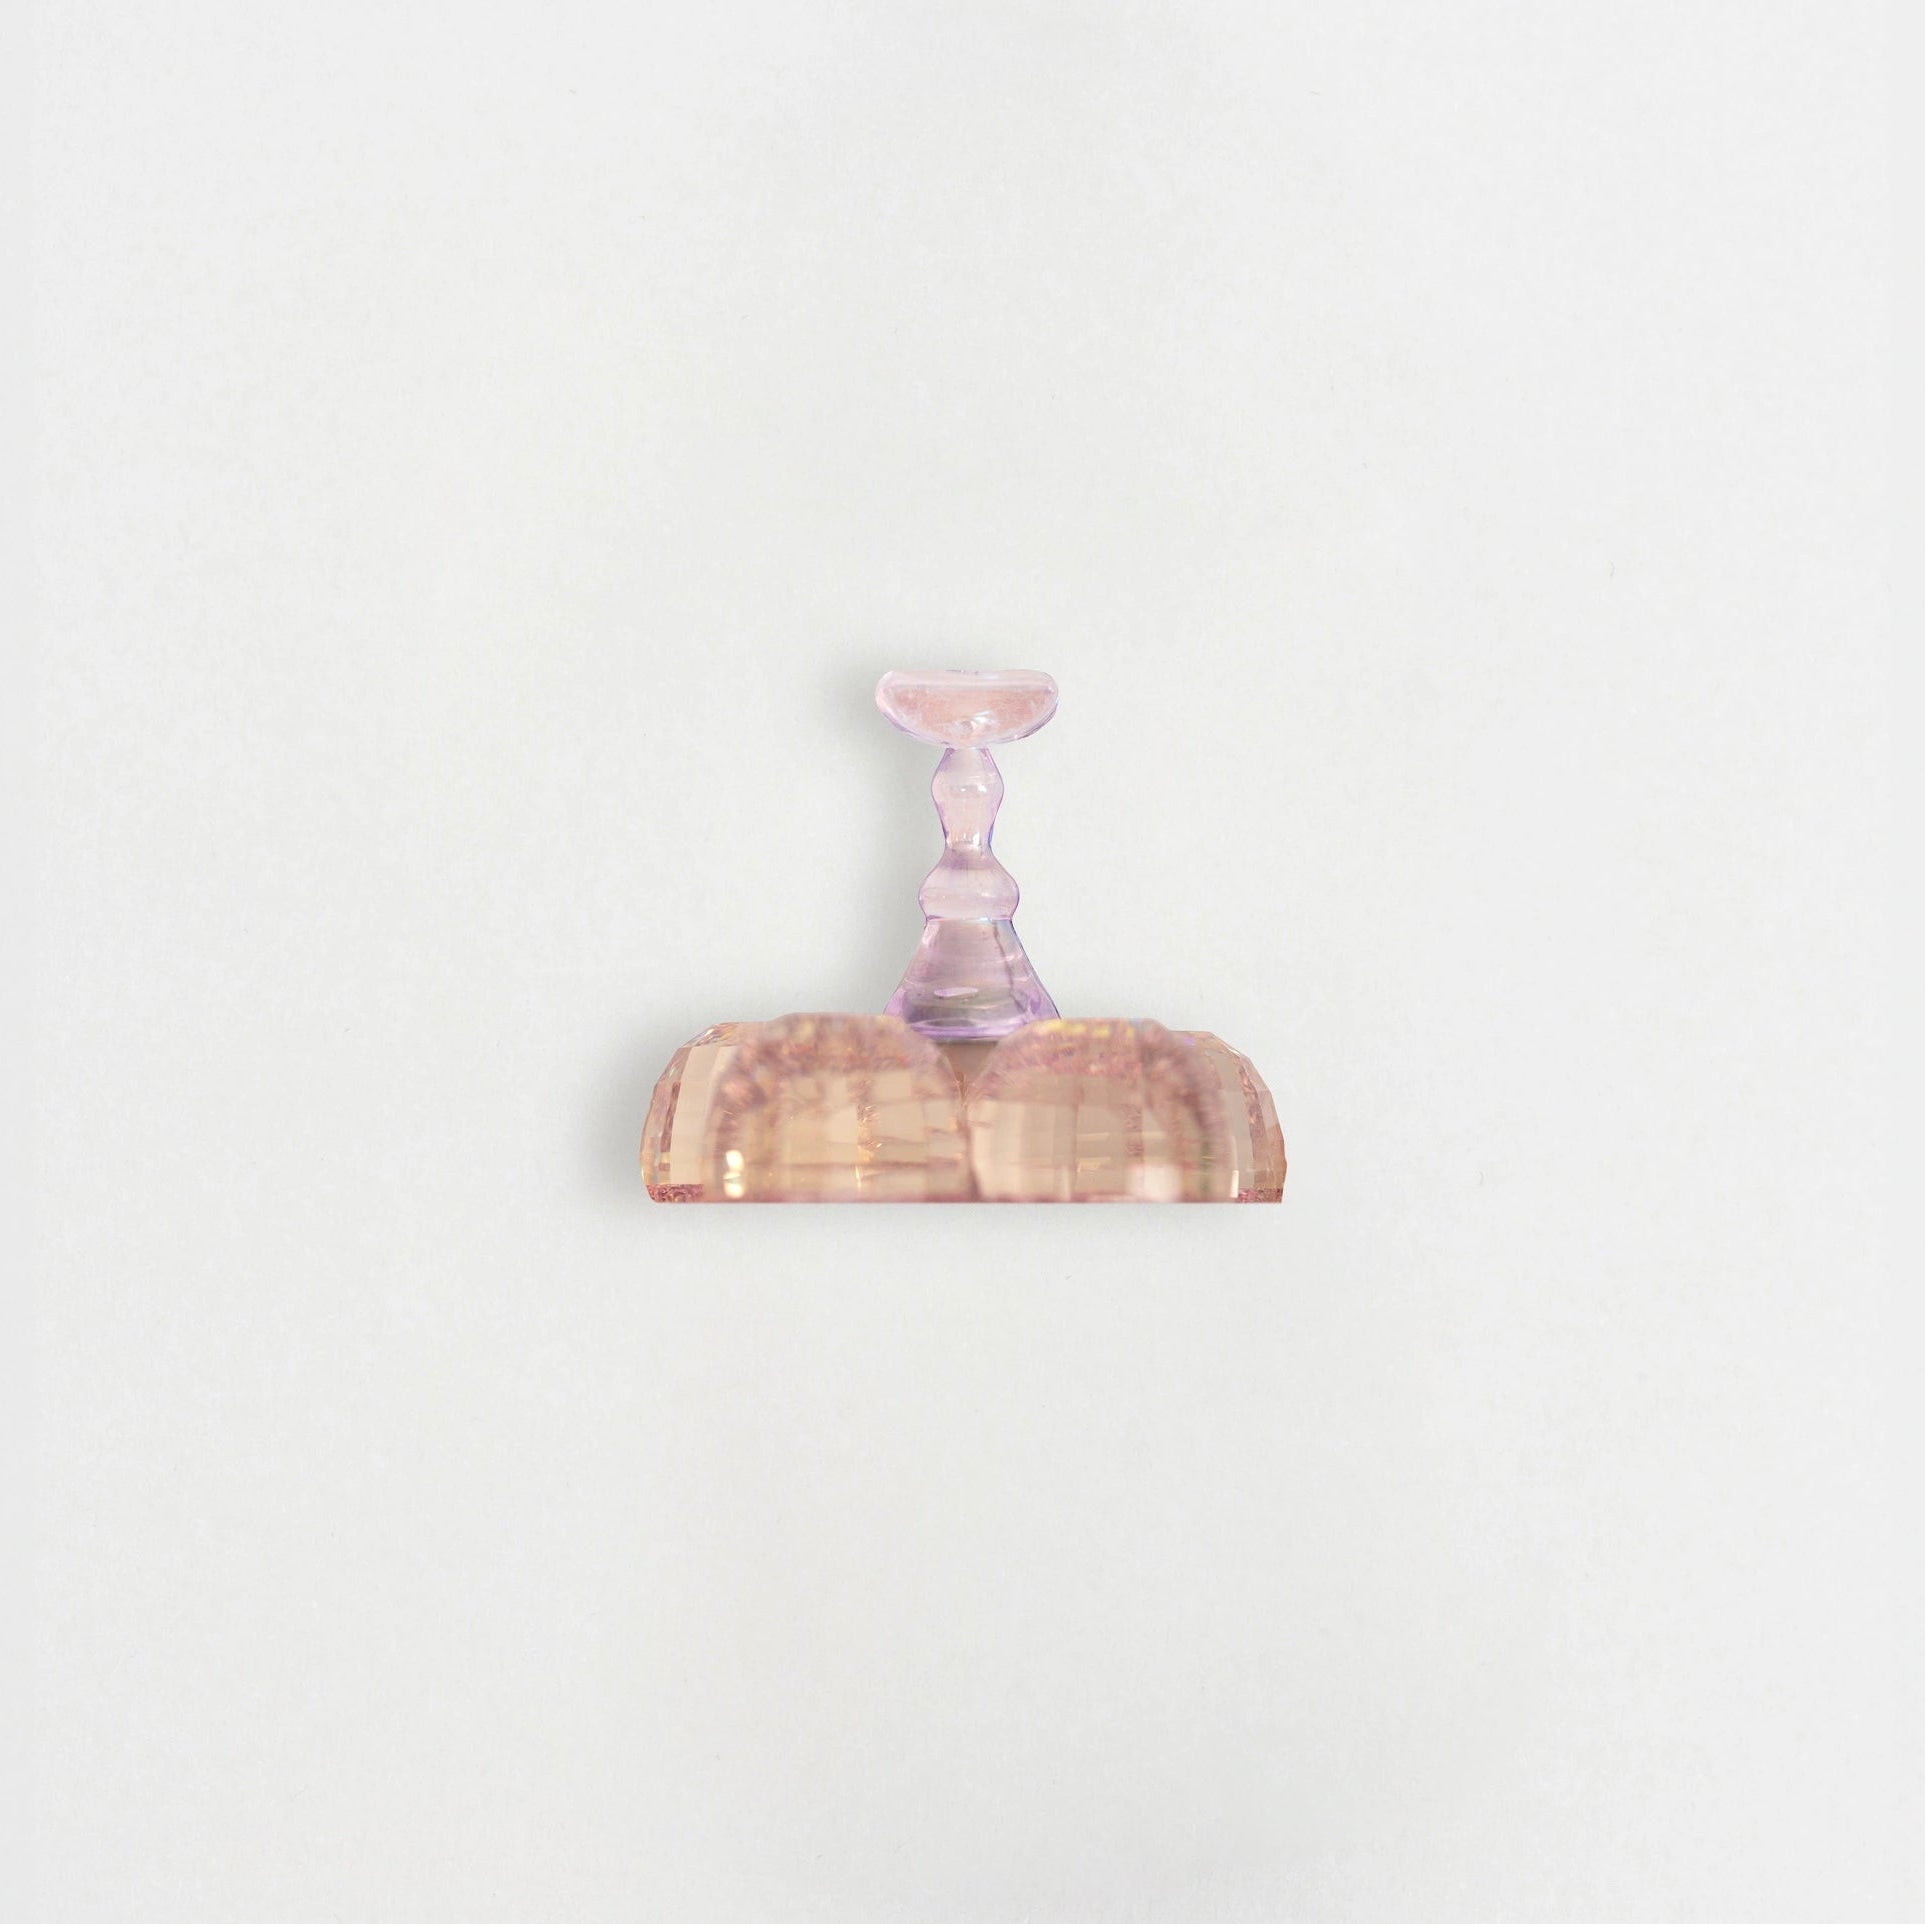


Tip holder for decorations
Per decorazioni
Nail Art
Quick answer: nail art includes techniques and products used to create lines, designs, gradients, raised decorations, chrome effects, stamping and light-catching details on nails. The right choice depends on the desired result and the level of precision required.
Which products should you choose for nail art?
- Nail art gels: including Gel Painting, Art Pasta and Spider Gel for designs, raised effects and geometric lines.
- Micro painting brushes: suitable for outlines, details, petals, fine lines and painting techniques.
- Stamping: transfers designs quickly from a stamping plate to the nail surface.
- Glitter, rhinestones and beads: decorative elements used to add light, texture and focal points.
- Watercolours: used to create gradients, transparent effects and painted decorations.
- Neon Ombré: pigmented solid colours for fluorescent gradients, coloured Baby Boomer designs and ombré effects.
- Top Coat: used to seal and protect the decoration when required by the technique.
Gel Painting, Art Pasta and Spider Gel
- Gel Painting: for flat designs, outlines, one-stroke techniques and painted details.
- Art Pasta: for texture, volume and raised decorative elements.
- Spider Gel: for elastic threads, intersecting lines and geometric patterns.
How to create nail art
- Prepare the nail and complete the base or colour required for the service.
- Choose the technique, product and tools according to the design.
- Work with small amounts of product to maintain control.
- Avoid contact with the skin and cuticles.
- Cure each product according to its instructions.
- Seal the decoration when required by the protocol.
Nail art techniques
- Micro painting: lines, flowers and details created with pigmented gels and fine brushes.
- Stamping: designs transferred using a plate, specific stamping polish and stamper.
- Watercolour: light decorations characterised by transparency and gradients.
- Ombré: gradual transitions between different colours.
- Chrome effect: powders applied over a compatible surface.
- 3D decorations: textured, raised elements shaped before curing.
Guides and tutorials
Explore the page dedicated to nail art techniques, the guide to nail stamping, the guide to watercolour nail art and the guide to Chrome Powder.
Mistakes to avoid
- Using products that are not compatible with one another.
- Applying layers that are too thick.
- Using curing times different from those specified.
- Leaving product in contact with the skin or cuticles.
- Using brushes that are too large for the detail.
- Automatically sealing every decoration without checking the protocol.
- Exposing gels and brushes to a UV/LED lamp or sunlight.
Nail art FAQ
Which products do I need to get started?
It depends on the technique. For simple decorations, a pigmented gel, a suitable brush and a compatible Top Coat may be enough. Techniques such as stamping, watercolour or Chrome Powder require specific products.
Is Gel Painting the same as gel polish?
No. It is a pigmented gel specifically designed for decorations, lines and details, with characteristics that differ from gel polish.
Does every nail art design need to be sealed?
No. Whether Top Coat is required depends on the product, technique and desired final effect.
How can I make a decoration last longer?
Prepare the surface correctly, respect the required thickness and curing times, and seal the design when specified by the protocol.


Business Club
Hai la Partita IVA?
Entra a far parte di Cactus Business Club!
Sconto permanente del 15% sui tutti i prodotti firmati Cactus.

Punti Jolly
1 PUNTO per ogni 1€ SPESO
Acquista, accumula* punti e trasformali in credito
per i tuoi prossimi ordini.
*per accumulare i Punti Jolly devi essere loggato al tuo account al momento dell’acquisto.